This year I discovered Epoxy Resin for artwork by watching some youtube videos. It looked really amazing how some people blended the glass clear resin with some paint and just let it flow other the canvas or wood boards. This technique is very intuitive and cannot be controlled very much. The mixture is poured not applied with a brushs. Every piece is a unique and cannot be recreated. I started to experiment with various paints that can be mixed with Epoxy. It took a while to find out what I want to do and how. There were many failed paintings in the first attempts: too much paint so the viscosity of the fluid was too thick, too little paint so the colour was too transparent, not well mixed paint so the texture started to clump… But all the failures were necessary because in this way I learnt a lot about this medium.
So here the 1m x 1m (~39 x 39 inches) artwork as a full image:

It is made on a canvas and it took about three layers to the finished image you can see. Epoxy consists of two parts – the resin and the hardener. What is important and shouldn’t be ignored – it takes about one hour after mixing the two parts together before the resin starts to dry. It begins to be very hot and it not that fluid anymore as at the beginning. It is dry completely after about 24 hours and it is as shinny as glass. The room temperature is also important. The hotter it is the shorter the time the resin needs to dry. I had one incident where the Epoxy-paint mix dried in my cup before I could get it on the canvas. I almost dropped it because of how hot it was and of course – the mixture was wasted because was already dry. I think this was because of the hot day. So you see it quite a challenge to cover such a big canvas completely in such a short time.
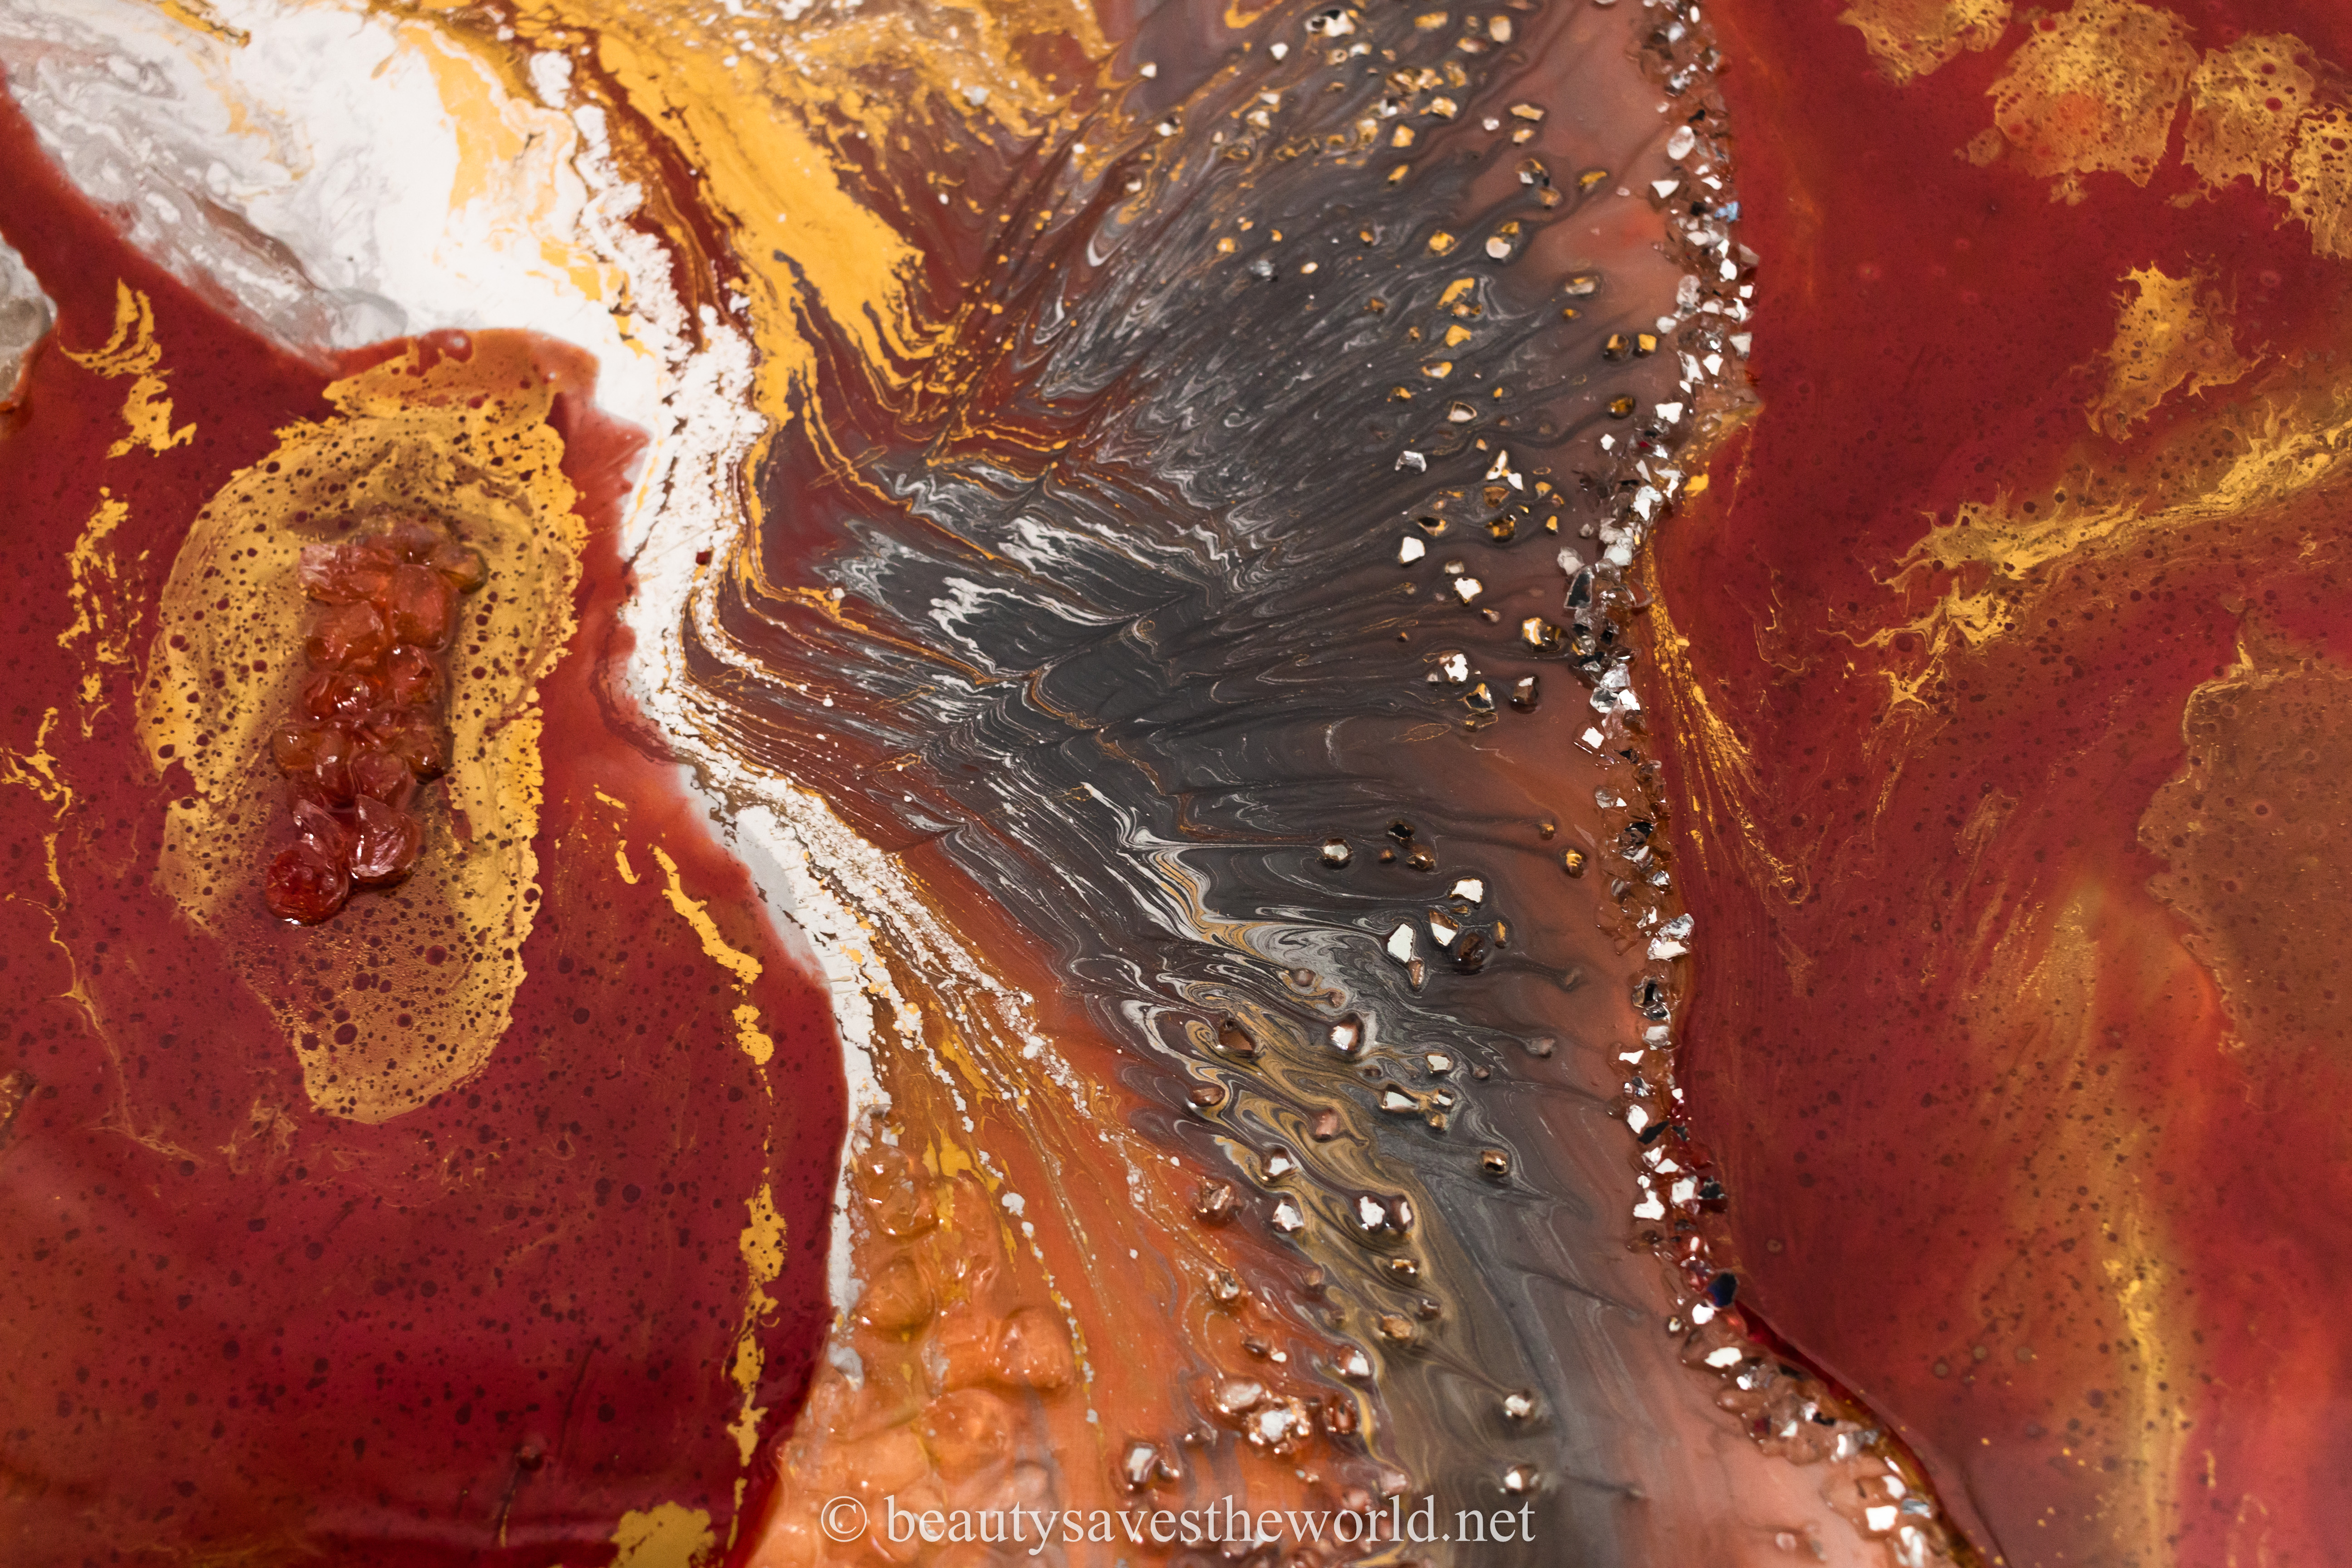
Now I want to get into the details what I used for the painting. For the red colour I used different mica pigment powders. You can buy it everywhere. You can also use some powders for nailart or eye shadow pigments but also high quality pigments for artists. You can mix the resin with glitter and with paillettes – there are no limits. For the gold and the silver paint I used ‘Flüssigbronzen’ (liquid bronzes) from ‘Kreul’. It is a paint that is based on solvents not water. This is important because Epoxy Resin can also be solved with solvents like alcohol or acetone but not with water. If you mix Epoxy with water together it will start to clump. I also don’t recommend water based acrylics because of this. For the white colour I used aerosol lacquer but it mixed with the other paint so you can’t see it that much in the painting. The red stones are just glass pieces and they were placed in the first layer as well as some of the bigger mirror pellets. At the process of drying the paint moved around the mirror stones which gave this cool look:

After the first layer dried I wasn’t satisfied with the piece because the red colour was to faint for me. I applied a second layer with much more red pigment and added also some gold. Because I was curious what effect sprayed alcohol will give me I sprayed it over the red and gold. You can see here on the detail image that it turned to a vesicle structure what I kind of like.

The image looked better but with this layer I still wasn’t satisfied. After the second layer dried I placed some mirror sand and clear glass stones. That gave more structure to the image and I decided to glue the stones with another clear Epoxy layer. Now I am quite happy with this piece and it is hanging at my bedroom now. I hope you like it, too and that this post was helpful and inspiring for you!

Be First to Comment